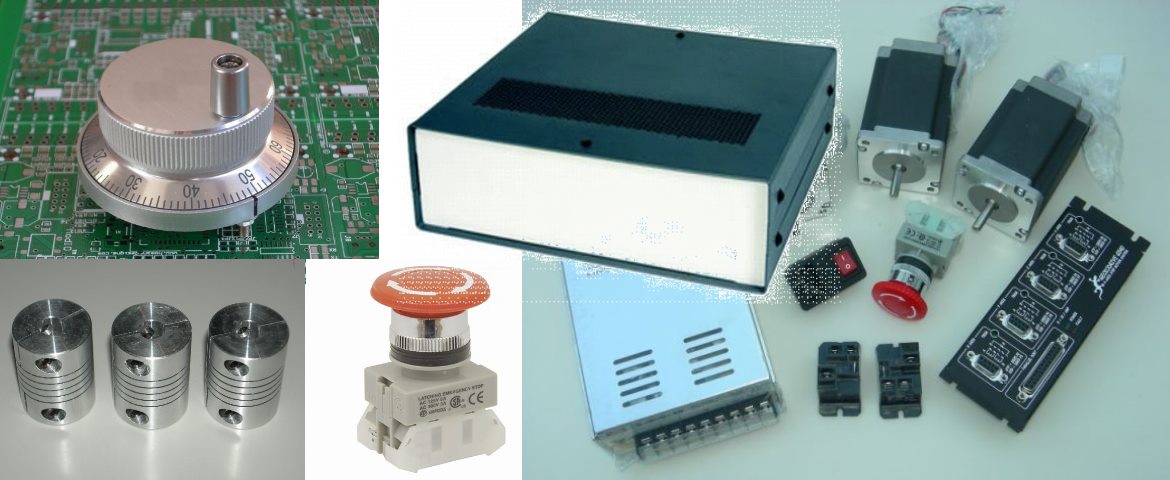
The DC-08 DigiSpeed is specifically designed to fit into the Sherline Mill and Lathe DC motor controller housing. It allows a GeckoDrive G540 4-Axis Stepper Controller or other controllers to be able to control the spindle speed from Mach3, LinuxCNC and other CNC controller software.
The DC-08 is a very simple design. In essence it is a switch that allows the operator to select the spindle speed control from either the Sherline DC Motor controller Manual Speed potentiometer or from an external isolated control voltage.

The following describes how I fitted the DC-08 into a Sherline motor controller to test the fit and installation process.
It should be noted that there are Mains voltages inside the KBIC controller. These voltages are Lethal, and as such it is dangerous to open up the controller and modify it without the proper qualifications. If you are not qualified to work on Mains level voltages, you need to use someone who is.
Ignorance is no excuse!
Step 1 - Opening up the controller.


The Sherline DC Motor controller is shown in the following images It is a fairly simple process to open it up. There are 2 screws that need to be removed from the rear of the unit.
Once the screws are removed the retainer can to removed and the KBIC controller taken out. The quick connect leads to the Potentiometer need to be removed from the controller board.
Step 2 - Trial fit and drilling of holes
 The DC-08 test board that is being used for the fitting does not have the flying leads or the Quick Connect connector populated. This was just to make fitting and setting up easier.


The 2nd image shows where the DC-08 is to be fitted inside the housing. As can be seen it is a tight fit. I've use a blank PCB as a template.
The placement of the holes is critical as you only get one chance. :)
The switch and potentiometer were removed from the housing. Then using the blank PCB as a template the pilot two holes were marked with a centre tool, then drilled.
The finished result is shown in the forth and fifth images below. When marking out it is important to remember that the we are looking at the bottom side of the DC-08.
Step 3 - Cutting the DB9 connector hole.


Once the switch and stand-off hole were drilled the next step in to machine the hole for the DB-9 connector. I mounted the switch and stand-off onto the blank PCB template and fitted that so as to be able to measure up the hole cut-out.
The third image shows the completed DB-9 cut-out. The location of this cut out was quite challenging. If you look closely at the image you can see a vertical alignment mark at the top and bottom of the enclosure.
With the template installed I
- marked the the location of the centre pin on the DB9 connector on the inside of the enclosure, then
- transcribed that with a right angle to the bottom of the enclosure as can be seen in image 3, then
- Transcribed that up the outside to the top mark as can also be seen.
- I then measured the depth of the DC-08 to the bottom of the enclosure, then
- transferred that to the outside and added a bit more for the 1.6mm PCB thickness and 1/2 the height to the centre of the DB-9 connector. And lastly,
- I rechecked my measurements about a dozen times. Then checked it again. :)
I now had an X scribed on the enclosure that theoretically is the location of the centre of the DB 9 connector as mounted. All I need to do now was cut it out.
I drilled a 1/6" hole at this point and was relieved to see that it was in the correct location, between the 2 rows of pins, just below the centre pin of the top row.
I then used the DB9 cut-out from the New Fangled Wizards to generate the G-Code, with the X/Y origin centred on the reference hole just drilled.
I also used the wizard to generate the Gcode to machine the two 5.5 mm clearance holes for the DB-9 mounting screw jacks. The screw jack could not be used to mount the DC-08 to the enclosure as the wall thickness was too great.
The machining was done on my Taig CNC Mill. I put the KBIC controller back in the housing to provide support and held the lot in a drill vise mounted to the Taig table.
There was just enough clearance for the 1/8 single flute slot mill. That said, I could have gained more headroom by remounting the headstock higher up on the Z-axis head.
Step 4 - Final Assembly


As can be seen from the first image, the DC-08 installs neatly into the housing. The switch and stand-off provide a solid mounting.
Once the board in installed the other components, namely the On/Off switch and the manual speed potentiometer can be reinstalled. The manual speed potentiometer leads now plug into the DC-08 and the Flying leads on the DC-08 now plug into the KBIC controller. The schematic of the DC-08 can be downloaded from the Engineering Notes Section.
As the connectors on the leads to the manual speed potentiometer are not insulated, I have put heat shrink tubing on them as a safety measure.
The KBIC controller can now be re installed into the enclosure and closed up, ready to be installed on mill or lathe.